My best way for fixing blogger contact form not sending messages is to stop using contact form provided by default in blogger.
Stick with me. That is so because it is not the first time google contact form is not working. And who knows a fix now might be not be viable for future.
The best alternative is Google Forms.
I promise this article won't be just embedding google forms in your page. We are going to completely customize google form and remove Google watermarks. It will look just like blogger contact form but you can set more fields and options.
In short, we are going to achieve following:
- Creating Google contact form and customizing.
- Setting up Redirection when users send the message.
- Getting responses on emails and replying them.
Here's the demo of our contact form page using google forms. It looks astonishing, right? You can send me a message via here.

Why Google Forms?
- Google owns it.
- Completely free.
- 100% secure.
- Trustworthy with users information (Uhh hmm..).
I learned a lot from this site on customizing google form.
For this article, we will use simple "Name","Email" and "Message" fields. You can add/remove more fields accordingly.
(1) Creating Google Contact form and Customization
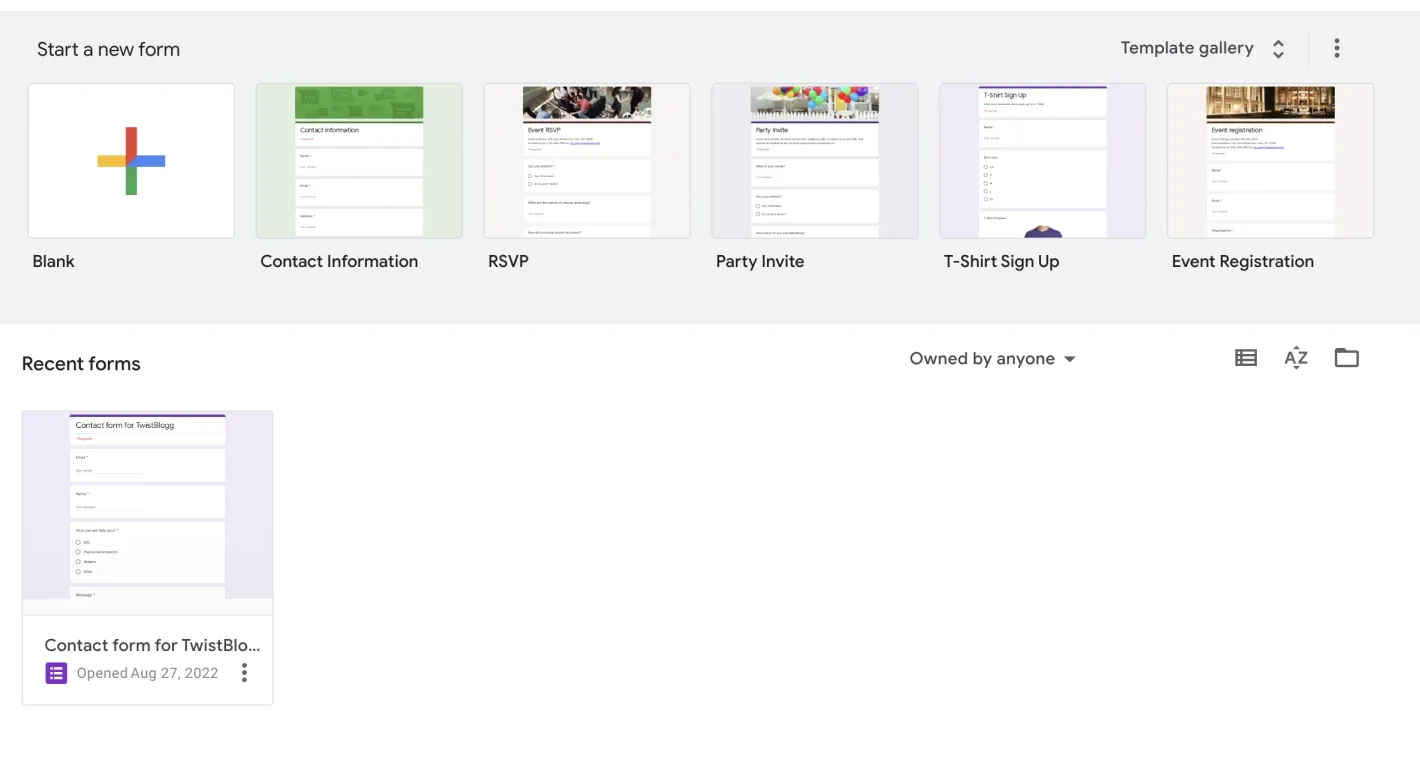
You can head to Google Forms and click on "+".

Go to "Settings" and enable "Collect email address by default".

Head back to Questions and add ""Name" and "Message" section.

Now, you have a working Google contact form.
Let us make some changes and set it up to make it look like blogger contact form.
The skeleton of simple contact form is:
<form action="" method="post">
   <label>Name</label>
   <input name="name" required="required" type="text" />
   <br />
   <label>Email</label>
   <input name="email" required="required" type="email" />
   <br />
   <label>Message</label>
   <textarea autocomplete="off" name="message" required="required" rows="3" type="message"></textarea>
   <input type="submit" value="Send" />
</form>
This outputs a simple contact form with "Name, Email and Message" fields. You can style with some CSS.
Head back to the form you created earlier and hit that "Send" button and copy the form link as shown below.

Open the link you copied and fill out the fields with some entries (not mandatory, but easier to find IDs later) and right click anywhere and click on Inspect elements.

Select on body and right click and copy OuterHTML as shown below.

Open notepad and paste the code you copied and search for entry.. You will get two finds and in the value you will have that sample entries you inserted.
<input type="hidden" name="entry.1669102912" value="samplename">
<input type="hidden" name="entry.1767892478" value="samplemessage">
entry.xxxx is important for us. We will enter those values in name field of our form.
Go to blogger.com and create a page and paste following code in HTML mode.
<style>
.myform input[type=text],
.myform input[type=email],
.myform textarea {
	width: 100%;
	padding: 12px;
	border: 1px solid #ccc;
	border-radius: 4px;
	box-sizing: border-box;
	margin-top: 6px;
	margin-bottom: 16px;
	resize: vertical;
}

.myform input[type=submit] {
	background-color: #04AA6D;
	color: white;
	padding: 12px 20px;
	border: none;
	border-radius: 4px;
	cursor: pointer;
}

.myform input[type=submit]:hover {
	background-color: #45a049;
}
</style>
<form class='myform' action="https://docs.google.com/forms/d/e/1FAIpQLScf83DXyyzvgOZqbfHsu-uQWwQtNWJ_ZHqdWIemyOVRUtkAWA/formResponse">
   <label>Name</label>
   <input name="entry.xxxx" required="required" type="text" />
   <br />
   <label>Email</label>
   <input name="emailAddress" required="required" type="email" />
   <br />
   <label>Message</label>
   <textarea autocomplete="off" name="entry.xxxx" required="required" rows="3" type="message"></textarea>
   <input type="submit" value="Send" />
</form>
You need to make 2 changes here:
- Change
action="https://docs.google.com/forms/d/e/1FAIpQLScf83DXyyzvgOZqbfHsu-uQWwQtNWJ_ZHqdWIemyOVRUtkAWA/formResponse"toaction="your_link". You can get your link by clicking on 'eye' button on google form page.
Note: It is important to follow above link format, or else your form might not work. /formResponse must be used at the end.
- Change
name="entry.xxxx"with your values found from searching in notepad.
That's all. You now have a working form that collect responses. You can find responses on Response tab in Google form. Hold your cup because later I will explain how you can get emails and auto-reply.
If you want a more customized form like ours, follow this link:
(2) Setting up Redirection when users send the message
I looked on Stackoverflow and found this amazing solution that allows you to set custom page redirection when users click "Send" button.
Following is the code for that:
<script type="text/javascript">var submitted=false;</script>
<iframe id="hidden_iframe" name="hidden_iframe" onload="if(submitted)  {window.location='#your_redirection_link';}" style="display: none;"></iframe>
<form class='myform' action="https://docs.google.com/forms/d/e/1FAIpQLScf83DXyyzvgOZqbfHsu-uQWwQtNWJ_ZHqdWIemyOVRUtkAWA/formResponse" method="post" onsubmit="submitted=true;" target="hidden_iframe">
   <label>Name</label>
   <input name="entry.xxxxxxxx" required="required" type="text" />
   <br />
   <label>Email</label>
   <input name="emailAddress" required="required" type="email" />
   <br />
   <label>Message</label>
   <textarea autocomplete="off" name="entry.xxxxxxx" required="required" rows="3" type="message"></textarea>
   <input type="submit" value="Send" />
</form>
Change #your_redirection_link with the link you want to redirect users when they send you a message.
(3) Get notified when someone contacts you and auto response - Google Forms
Yes, you can be notified when users hit that send button on google contact form and set auto responses to them. You can further communicate through Gmail.
Google forms allow to install Add-ons.
We will be using two add-ons - Form Notifications and Simple Form Notifications.
If you do not know how to install add-ons on google form, follow this guide:
Simple Form Notification - Get Notified When someone sends you message
Open "Simple Form Notification" and click "Add Notification".
Choose "Gmail" and Enter values on how you want to get notified. It is straight forward. Here's how notification looks when someone submits response.

Form Notification - Set Auto Response
Open "Form Notification" and enable "Thank you email" and set auto enable message. That's all users will get auto response when they contact you.
Check your 'sent' tab on gmail and you will have responded automatically. You can communicate further from there.


