Designing a landing page in blogger has always been meticulous task. There's no drag and drop builder available out of the box. You need to have hardcore coding skills to create something.
Long back, in 2015, we had shared a guide Create Custom Landing Pages on Blogger and later distributed our collection of 6 Best Landing Themes Available for Blogspot. These two articles gained huge responses and many of you requested for help in designing a stunning landing pages for blog platform. Here it is :
A Complete Guide on Creating Creative and Stunning Landing Pages For Blogger Without Any Coding Skills for FREE. 🤗
How to design Landing Pages in Bloggers - No Coding Involved
At first, you'll need to have some account created. Let's get started with what all you need and follow through this tutorial.
Pre-Requisites for Designing Landing Pages in Blogger
OK, let me briefly explain how we are designing our landing page with a powerful Drag-and-Drop Page Builder.
We will create a design in Brizy Cloud (the page builder service we will be using today) , upload it to Github (for hosting our project) and connect to Netlify (for website deployment) . All these for FREE OF COST. Trust Me :)
- A Brizy Cloud Account. (Sign up now)
- Github Account. (Sign up now)
- Netlify Account. (Sign up now)
Designing Our Landing Pages in Brizy Cloud - Step 1
I assume you've created an account in Brizy Cloud and logged in. You'll have an interface where there's an option to create a New Project.
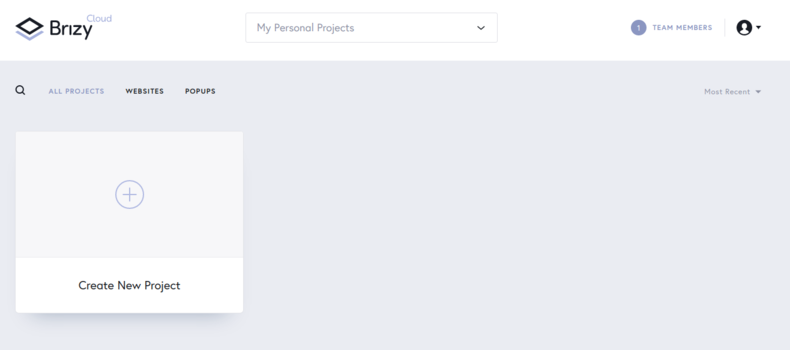
Start New Project and Create a "Website & Landing Page"
You've successfully created a project with name "Project#1". You can rename it as well. Here's a snapshot:
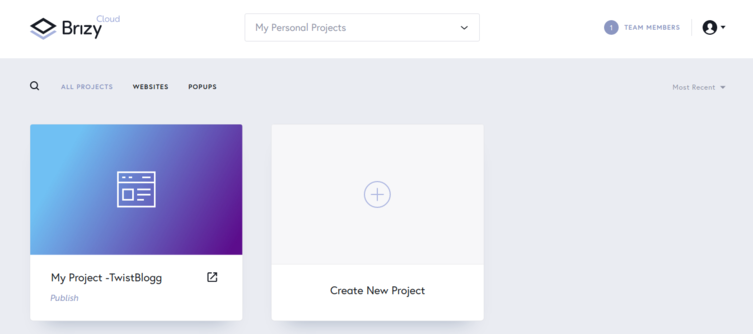
Hover Over that project and Hit "Edit Project". You will get a blank page with an option of Start Building Your Page. This is where we will customize our page design and create something we are planning for.
WOW Factor : There's so many layouts, styles and blocks available for FREE. You can drag and drop to start using them. Its as simple as that.
Note: Designing A Whole New Page can make this post super lengthy, therefore, I'll just give a glimpse on some available features. You can follow some online tutorials on how to create one. Here's my recommendation :
Now, Click on + sign and you'll have a full bunch of elements. Go, try and check one that fits your design layout.
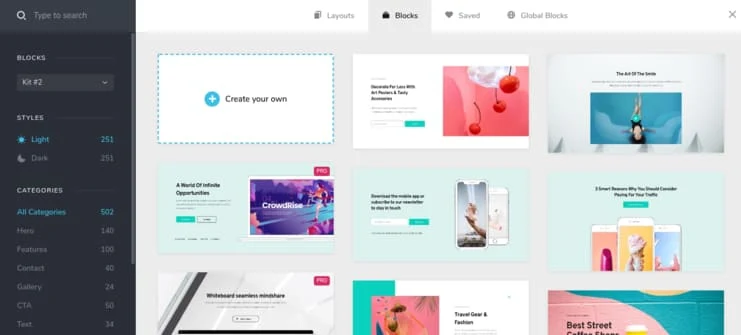
You can even start with a Free Layout Page.
You can set default font family, color, font size and styling by going under "Styling" settings from main page. In the same column, you can see option to reorder blocks, add extra elements, check for responsiveness and upload favicon icon, update social links and other settings for SEO purpose.
Since, we are using FREE tag in this post, I'll skip Pro features. You can find them on homepage of Brizy.cloud. Let's move to another step.
Uploading Brizy Cloud Project To Github - Step 2
I'm assuming you've a Github account and ready with your brizy cloud landing page web design template.
Go back to your dashboard by clicking Three lines > Go to Dashboard. Hover over your project and you should see three dots. Select Publish Option. Or You can hit Publish Link below your project title.
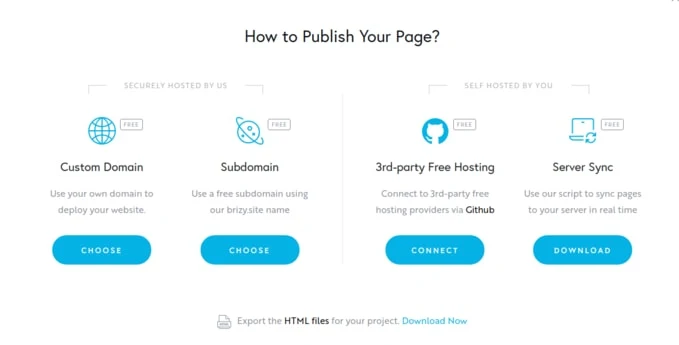
Now, you'll get 4 options as shown below. Select "3rd party Free Hosting".
Select any one of the 4 options available now. I'll go with "Netlify".
Let's setup Github connection first.
Once you click on "Netlify", a popup will appear requesting you to authorize Brizy cloud with Github. Authorize the application.
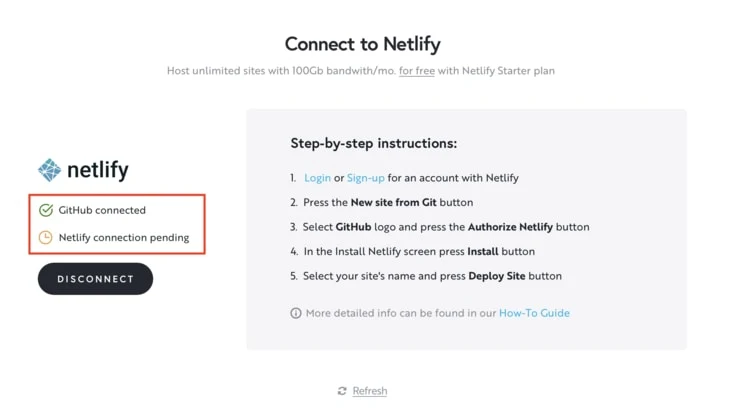
After authorizing, two things happen:
- Brizy Cloud will create and add content to a new repository, named "brizy-project-some_number" . You can rename it by clicking on settings option. Its optional.
- Your Brizy account reflects that github is connected.
You've successfully uploaded your brizy project to Github. Let's move to last step.
Deploying Brizy Project to Netlify - Step 3
Netlify is the all-in-one free hosting platform for static websites. Their generous free plan of 100GB/month bandwidth, 300 build time minutes and unlimited site creations is why we are choosing Netlify for deploying our site.
Go to Netlify.com and login.
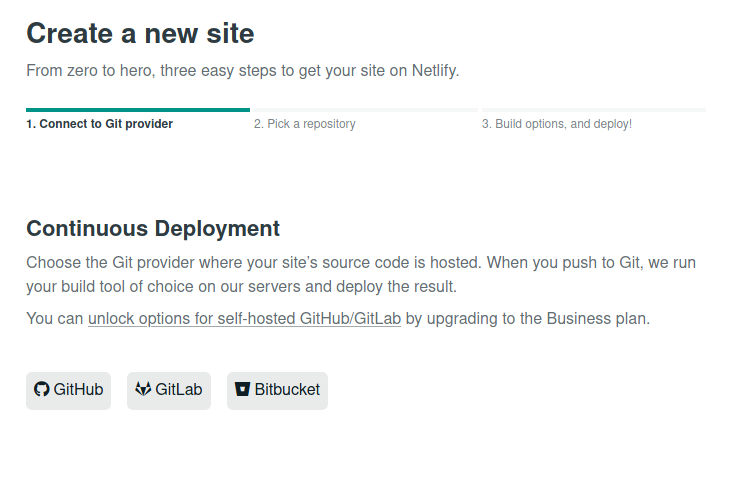
Once logged in, click on "New site from git" to connect github to netlify.
Now, select Github from the available options.
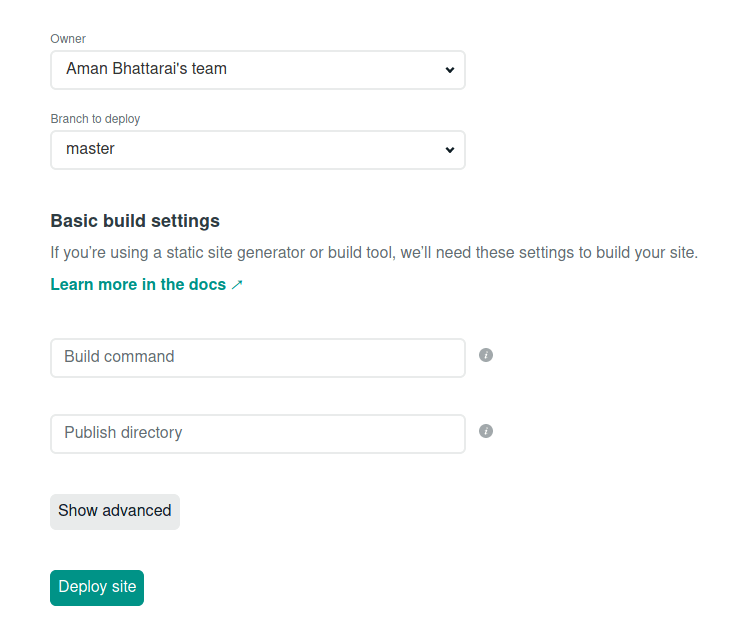
A popup will appear requesting for Authorizing Netlify to Github. Click on "Authorize Netlify" and you're good to go.Choose the Github account you want to install Netlify on. If you are part of an organisation you'll get multiple options, but you should choose the account you've uploaded your brizy project. Now, choose "Only Selected Repositories" if you've many and select the one with name "brizy-project-some_number" or you can select "All Repositories" and hit "Install". After that, you'll be redirected to Netlify account and select the repository name.
Hit "Deploy" option and your site should be live in a couple of minutes. You'll see Successfully Connected to Brizy Cloud message upon success.
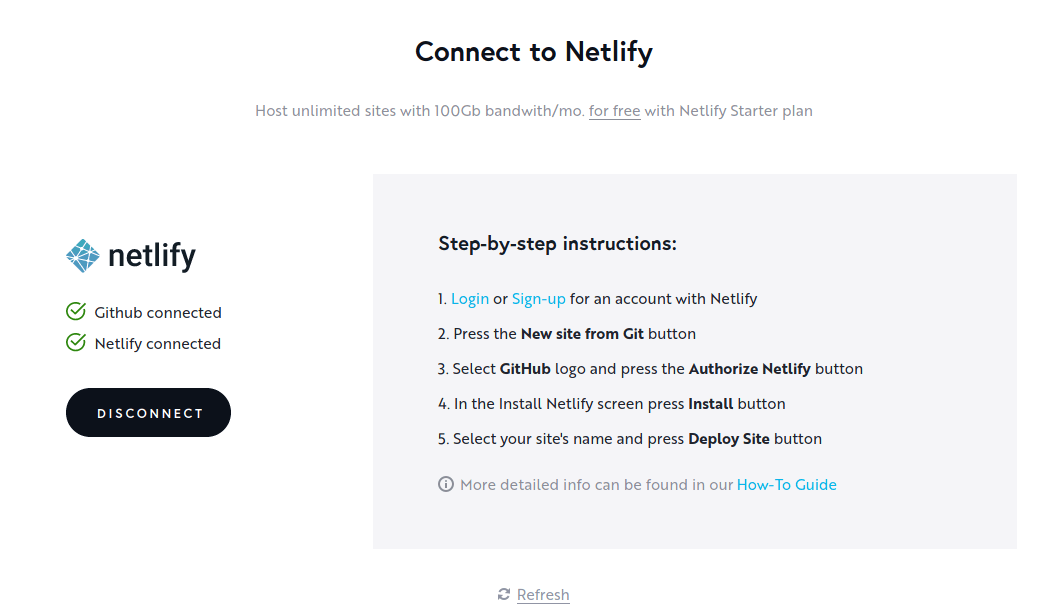
At this point, your brizy account should reflect "Netlify connected" message.Here you've a working landing page website to use for your blogspot platform. You can rename it or even add Domain/Subdomain. And more importantly, you can use it anywhere.
If you need help with setting up domain name, you can check this tutorial.
My Landing Page is not showing Up, what to do?
Sometimes, after even performing everything correctly, you'll get "Failed to connect to Brizy Cloud" message upon loading your page. You can easily solve this. Let's go back to our Github account and Brizy-project-some_number repository.
There you'll see a index.html page. Open that file.
You'll see a line of code there, something like this:
Copy that link and paste in your browser address bar. You'll now append your site address there. Something like this:
https://www.brizy.cloud/projects/3116139/sync/publish-methods/deploy-url/update?deploy_url=https://priceless-hawking-c19b63.netlify.app/
where, https://priceless-hawking-c19b63.netlify.app/ is my web address.
Hit enter and you'll see the site is loading properly in a couple of minutes.
You can check this video for help with failed to connect message.
Final words on Designing landing pages in blogger without touching a code for free
I promised earlier, no need to touch a single line of code for designing wordpress like creative landing page designs for blogspot bloggers.
From now onward, any changes made to your brizy project will be auto handled - No need to do anything. Just make sure to hit publish button in your brizy account and Netlify will auto deploy from github repo.
I hope you enjoyed reading this guide as much as I enjoyed writing it. Do show your love and help fellow bloggers to showcase there products with creative and stunning landing pages. Happy Blogging :) 😀


